The Nuts And Bolts Of BB3106
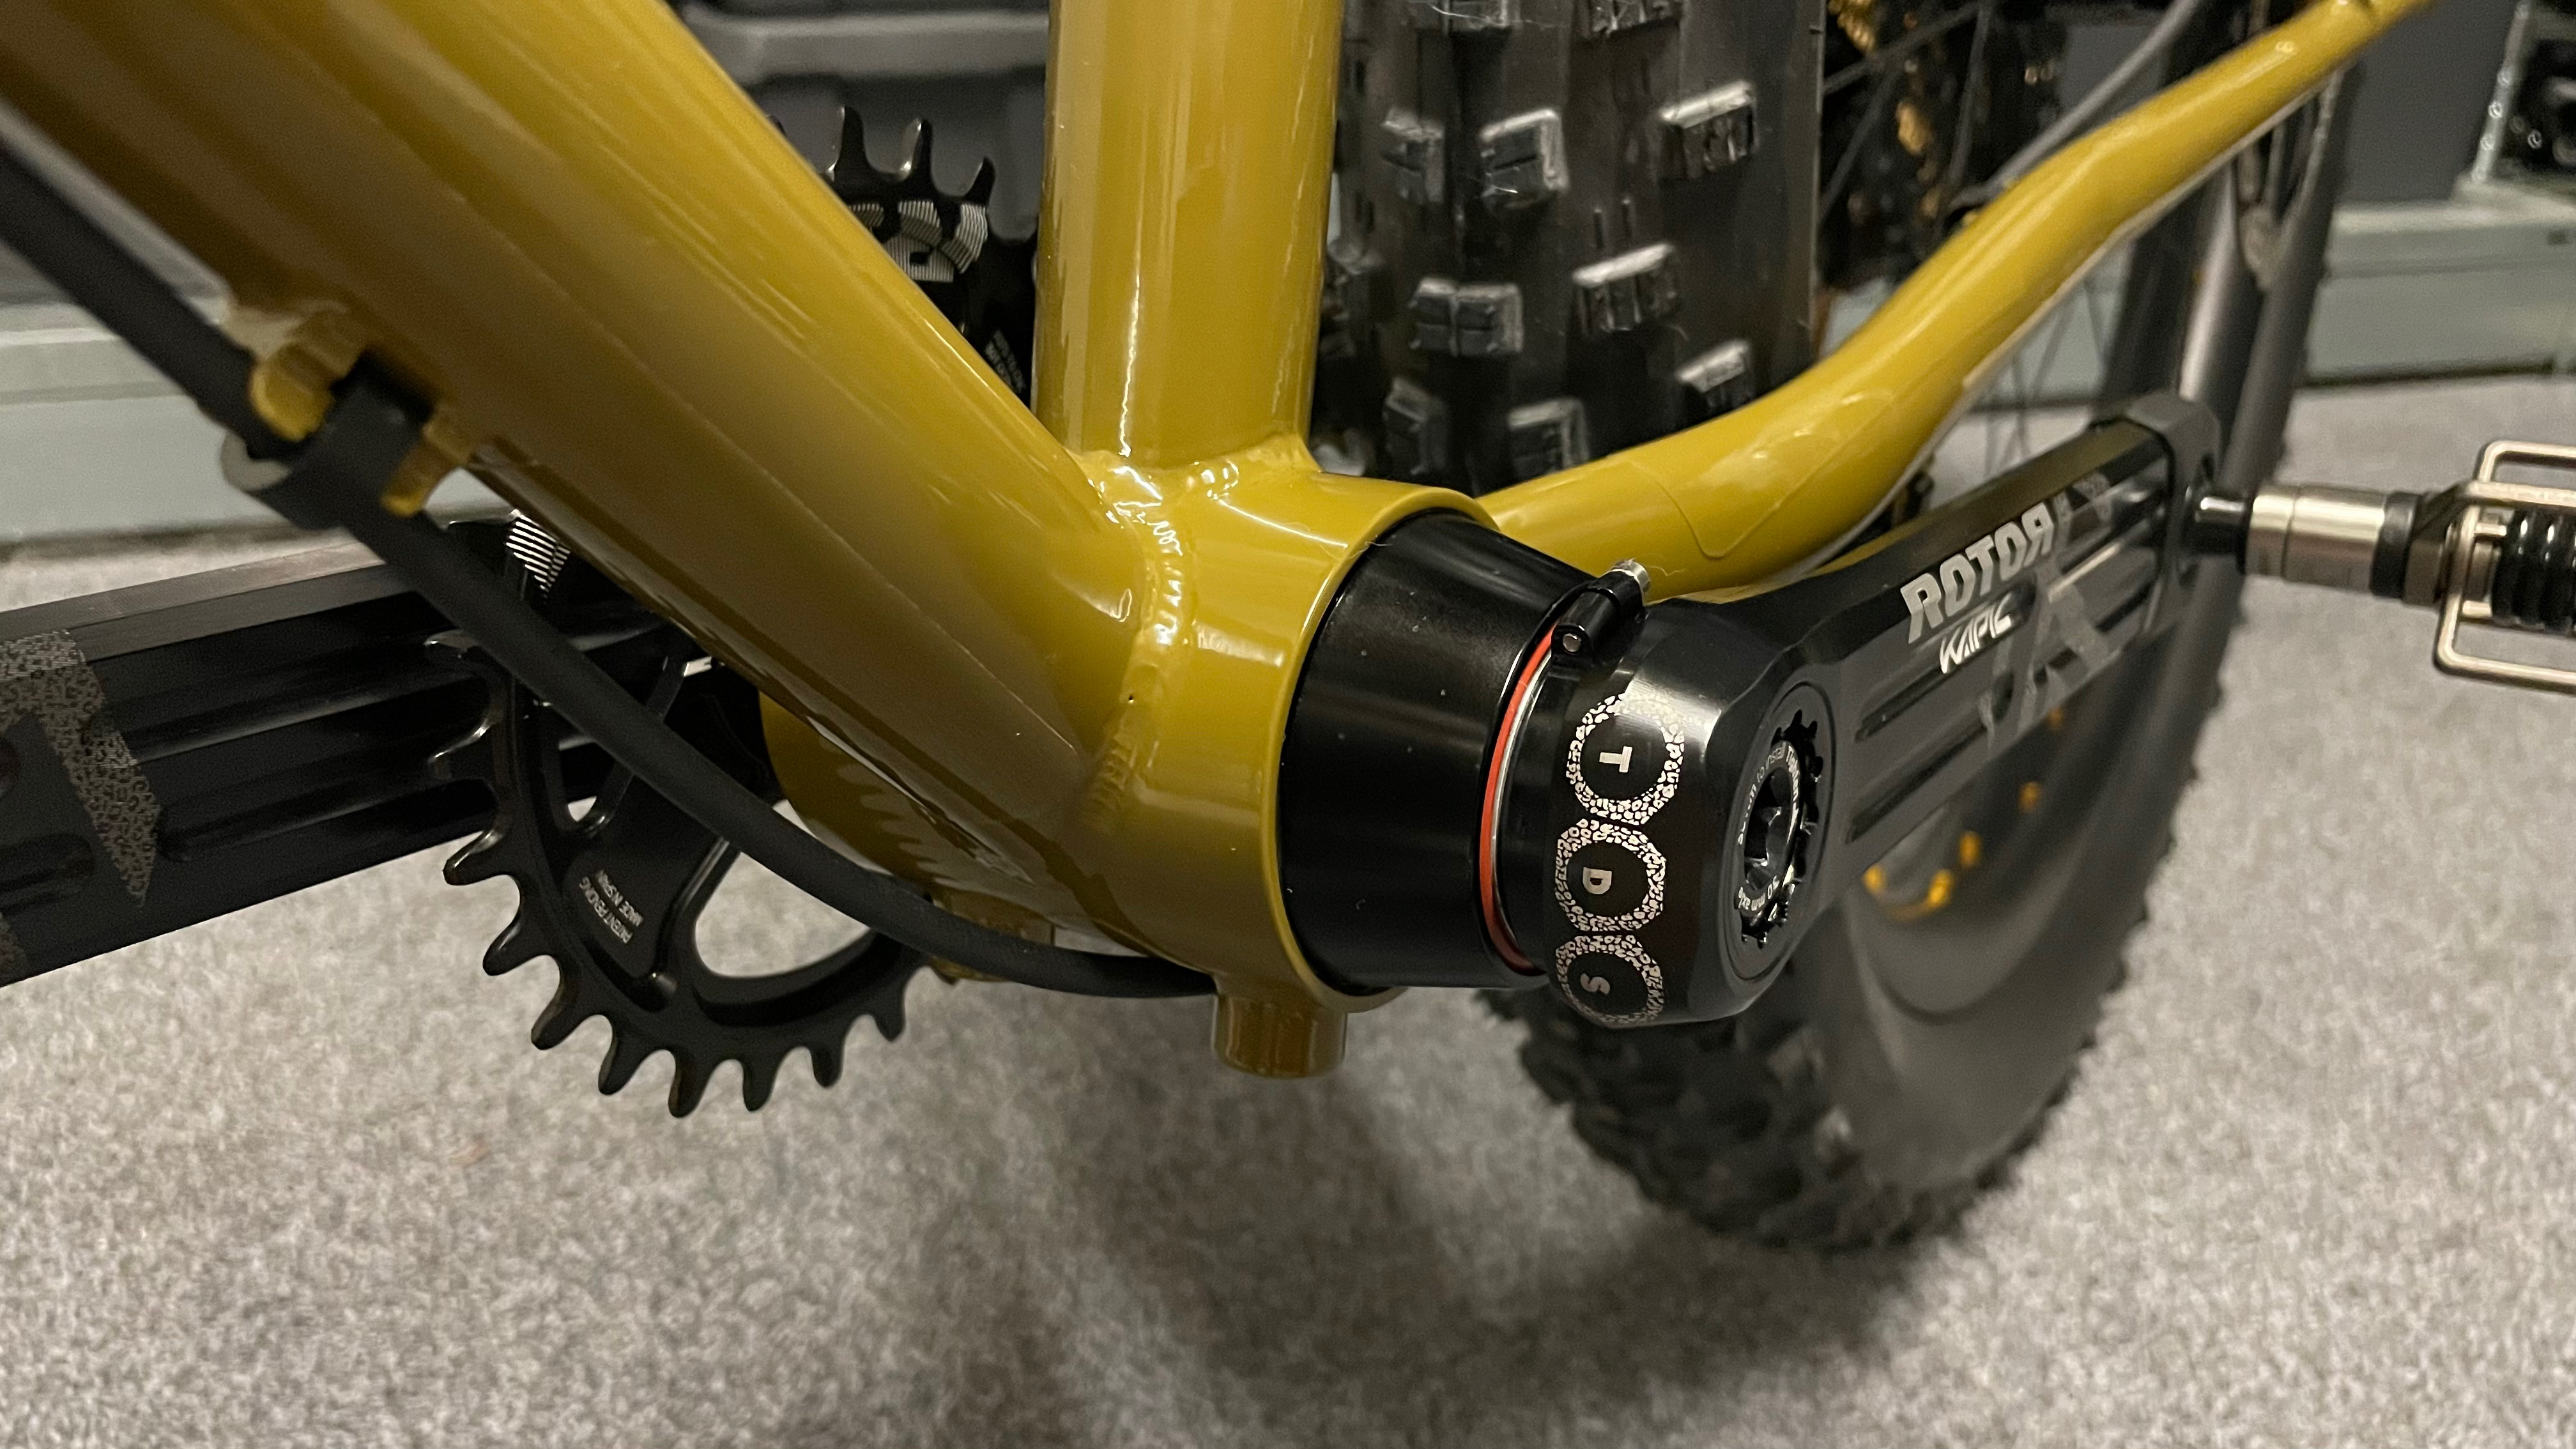
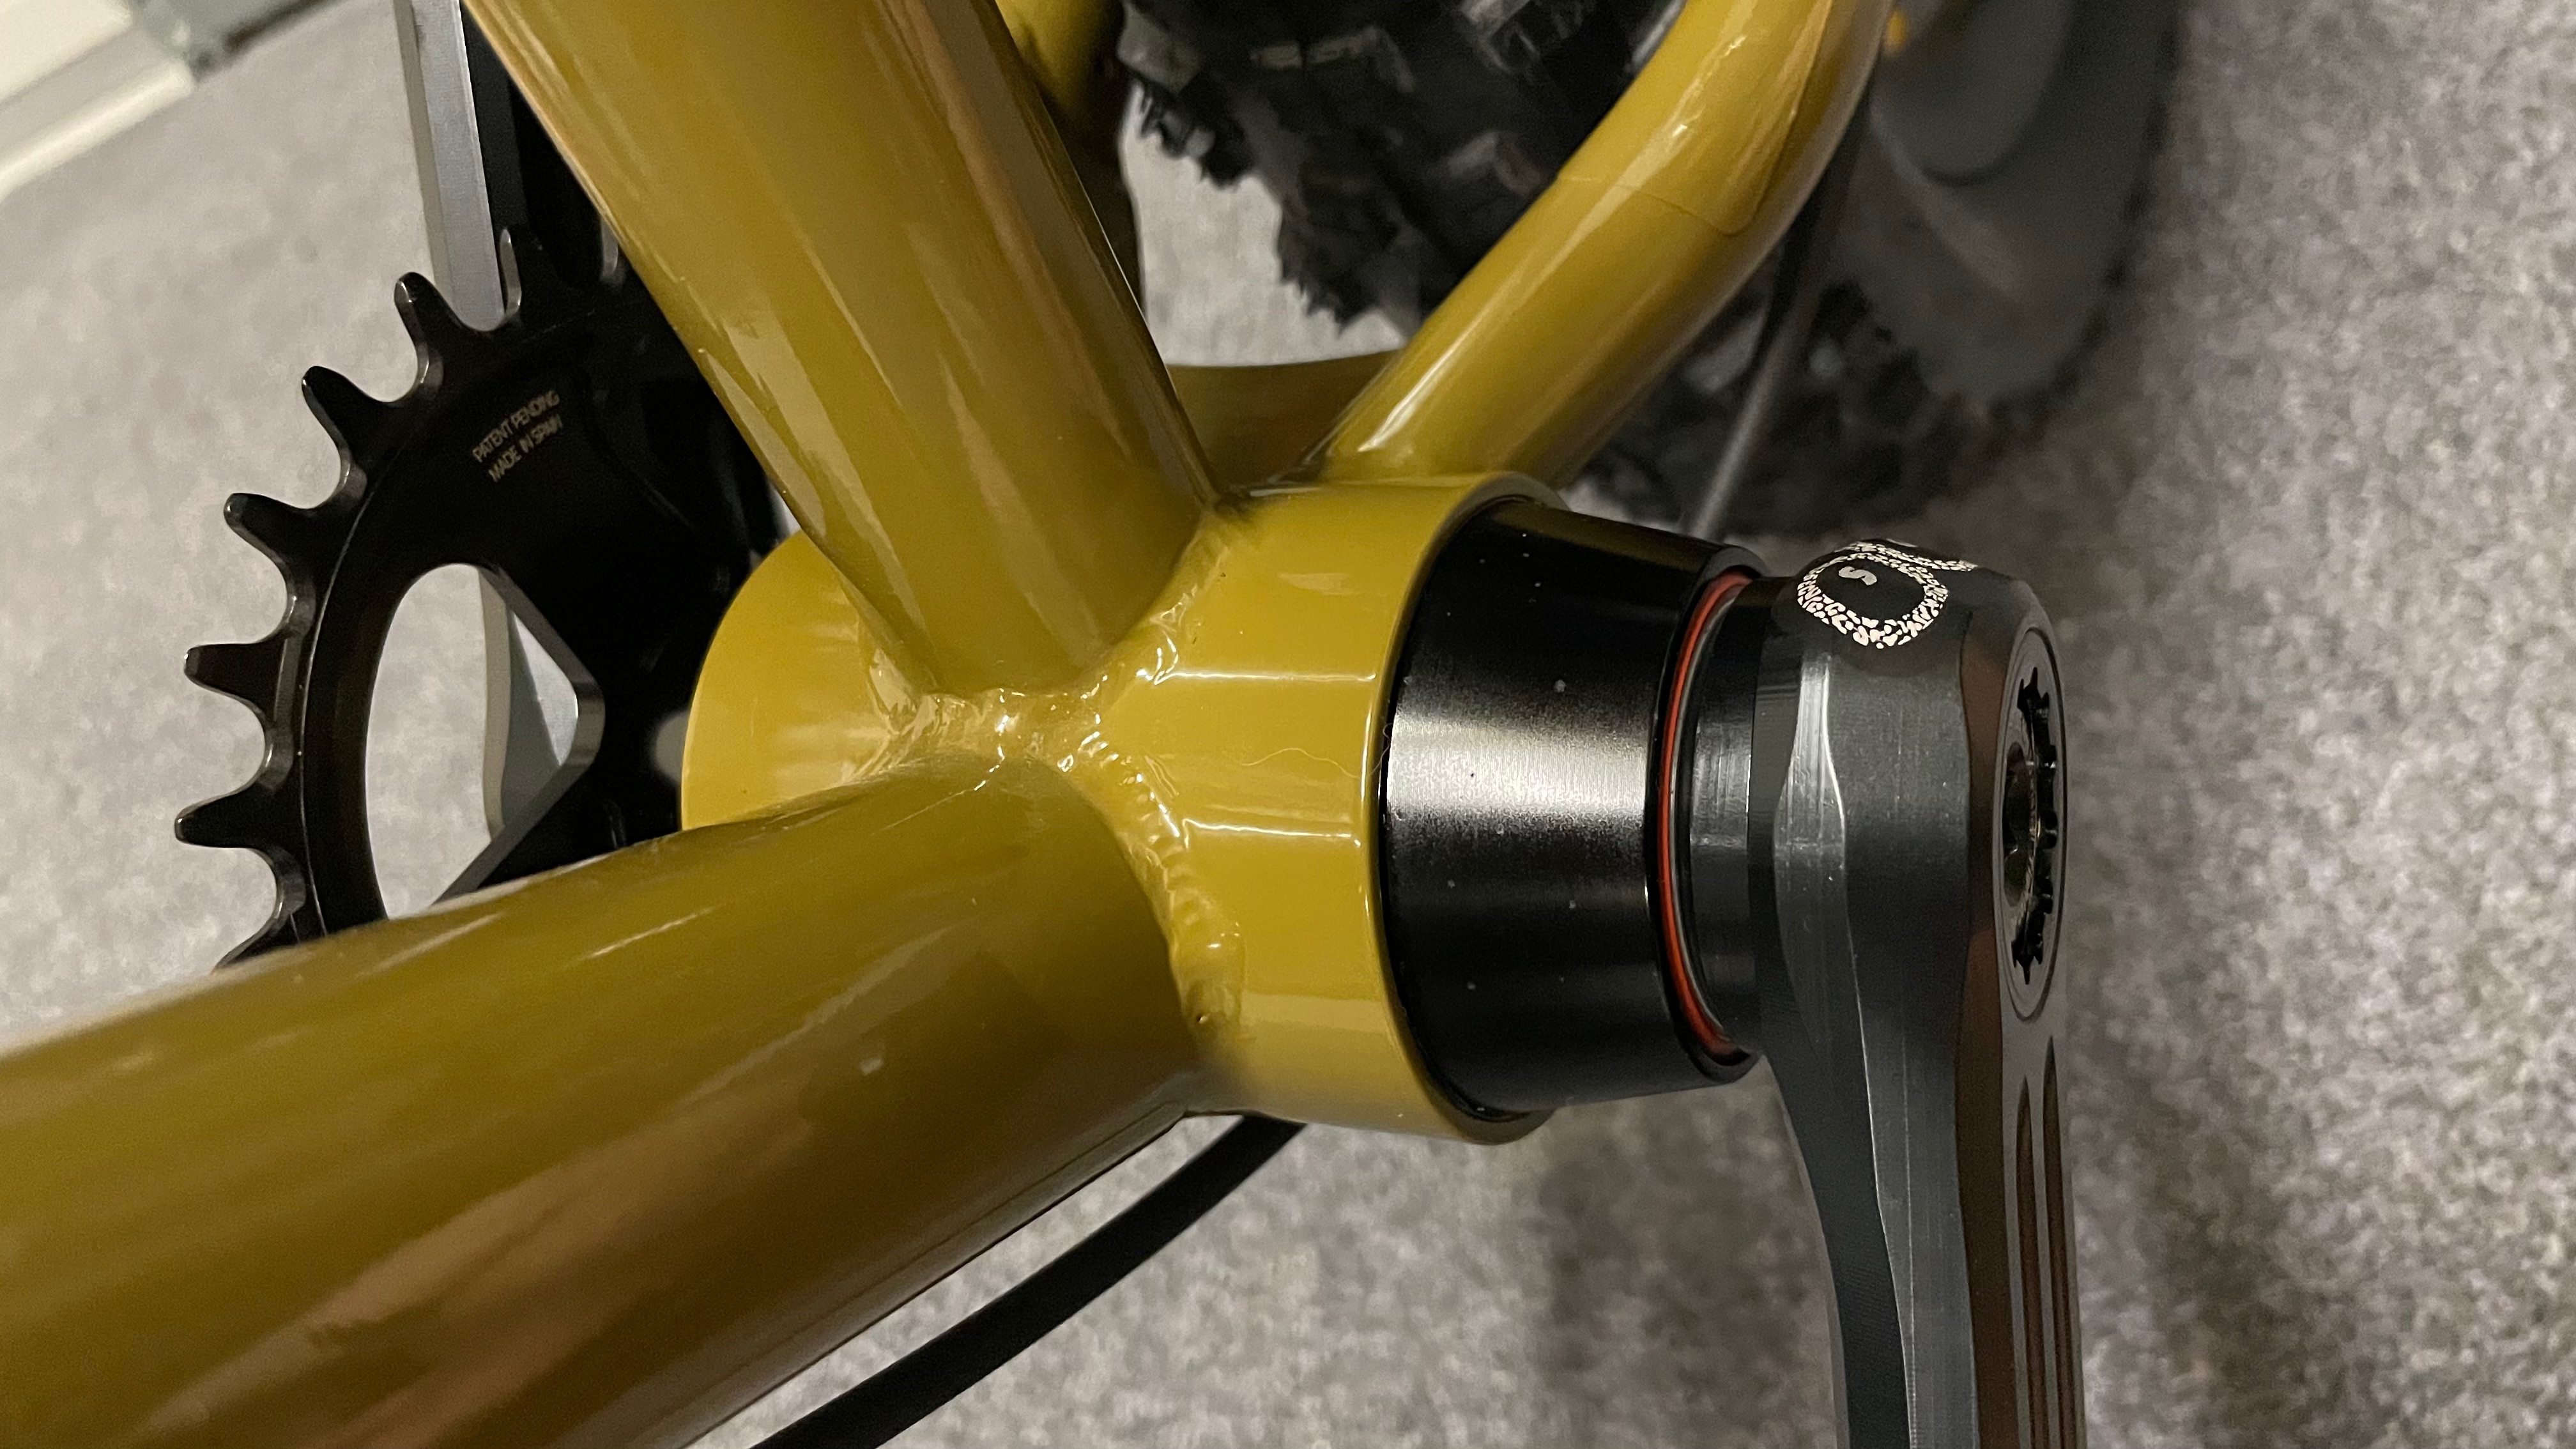
In my previous post, I introduced my BB3106 bottom bracket. The cycling world is full of different bottom bracket standards, and each time a new one is introduced, every cycling forum and every comment section of every cycling news website moans about it. So, I'm gifting the cycling world with yet another "standard." But no need to worry. Specifically designed for Rotor Kapic cranks with Boost axle mounted to a Stooge MK5, BB3106 isn't anything the bicycle industry is going to adopt. And should it ever become a thing, remember that you saw it here first!
I have designed and manufactured hubs and mountain bike brakes for myself and occasionally made other small bits for my bikes. Unless you have the space and the disposable income to set up your own small workshop equipped with a lathe and a mill, preferably CNC, making parts like my BB3106 is sadly out of reach for most, even if you have the professional background like myself to design them. If you don't own the necessary machines, you can only get something like this made if you know someone who will do you a favor to do the machining or if you know how to operate the machines, lets you use their shop. It's basically impossible to find a machine shop that will take the time to machine a single workpiece or even a few. And if a shop would do it, you would probably immediately drop the idea as soon as you'd see the quote. Your jaw will probably drop looking at the price table below.
While I often have ideas swirling around my brain for some clever bicycle component - and I've probably had hundreds in all the years I've been riding - most often, these ideas stay just that, a fun daydream while riding. As a trained machine mechanic and graduate mechanical engineer, I know how to design and make stuff. But because I don't have the machines to make any of it, nor good connections to a CNC shop, I often don't even bother putting any of these ideas on paper. In the case of the BB3106, the guys in our applications department did me a favor and machined the bottom bracket on a CNC lathe in our demo room. They ended up with four scrap parts until the tooling was perfectly dialed to machine three good bottom brackets. All in all, it was a full day's work. A CNC shop generally has various chucks they can put on a lathe and has drawers full of turning tools. They won’t have a day, but they will still have a considerable setup time. If you had to pay real-world shop hours, you wouldn't be able to afford such a bottom bracket. That's why it's extremely rare for me to undertake such a project. Let's go through the nuts and bolts of the project:
- The Design
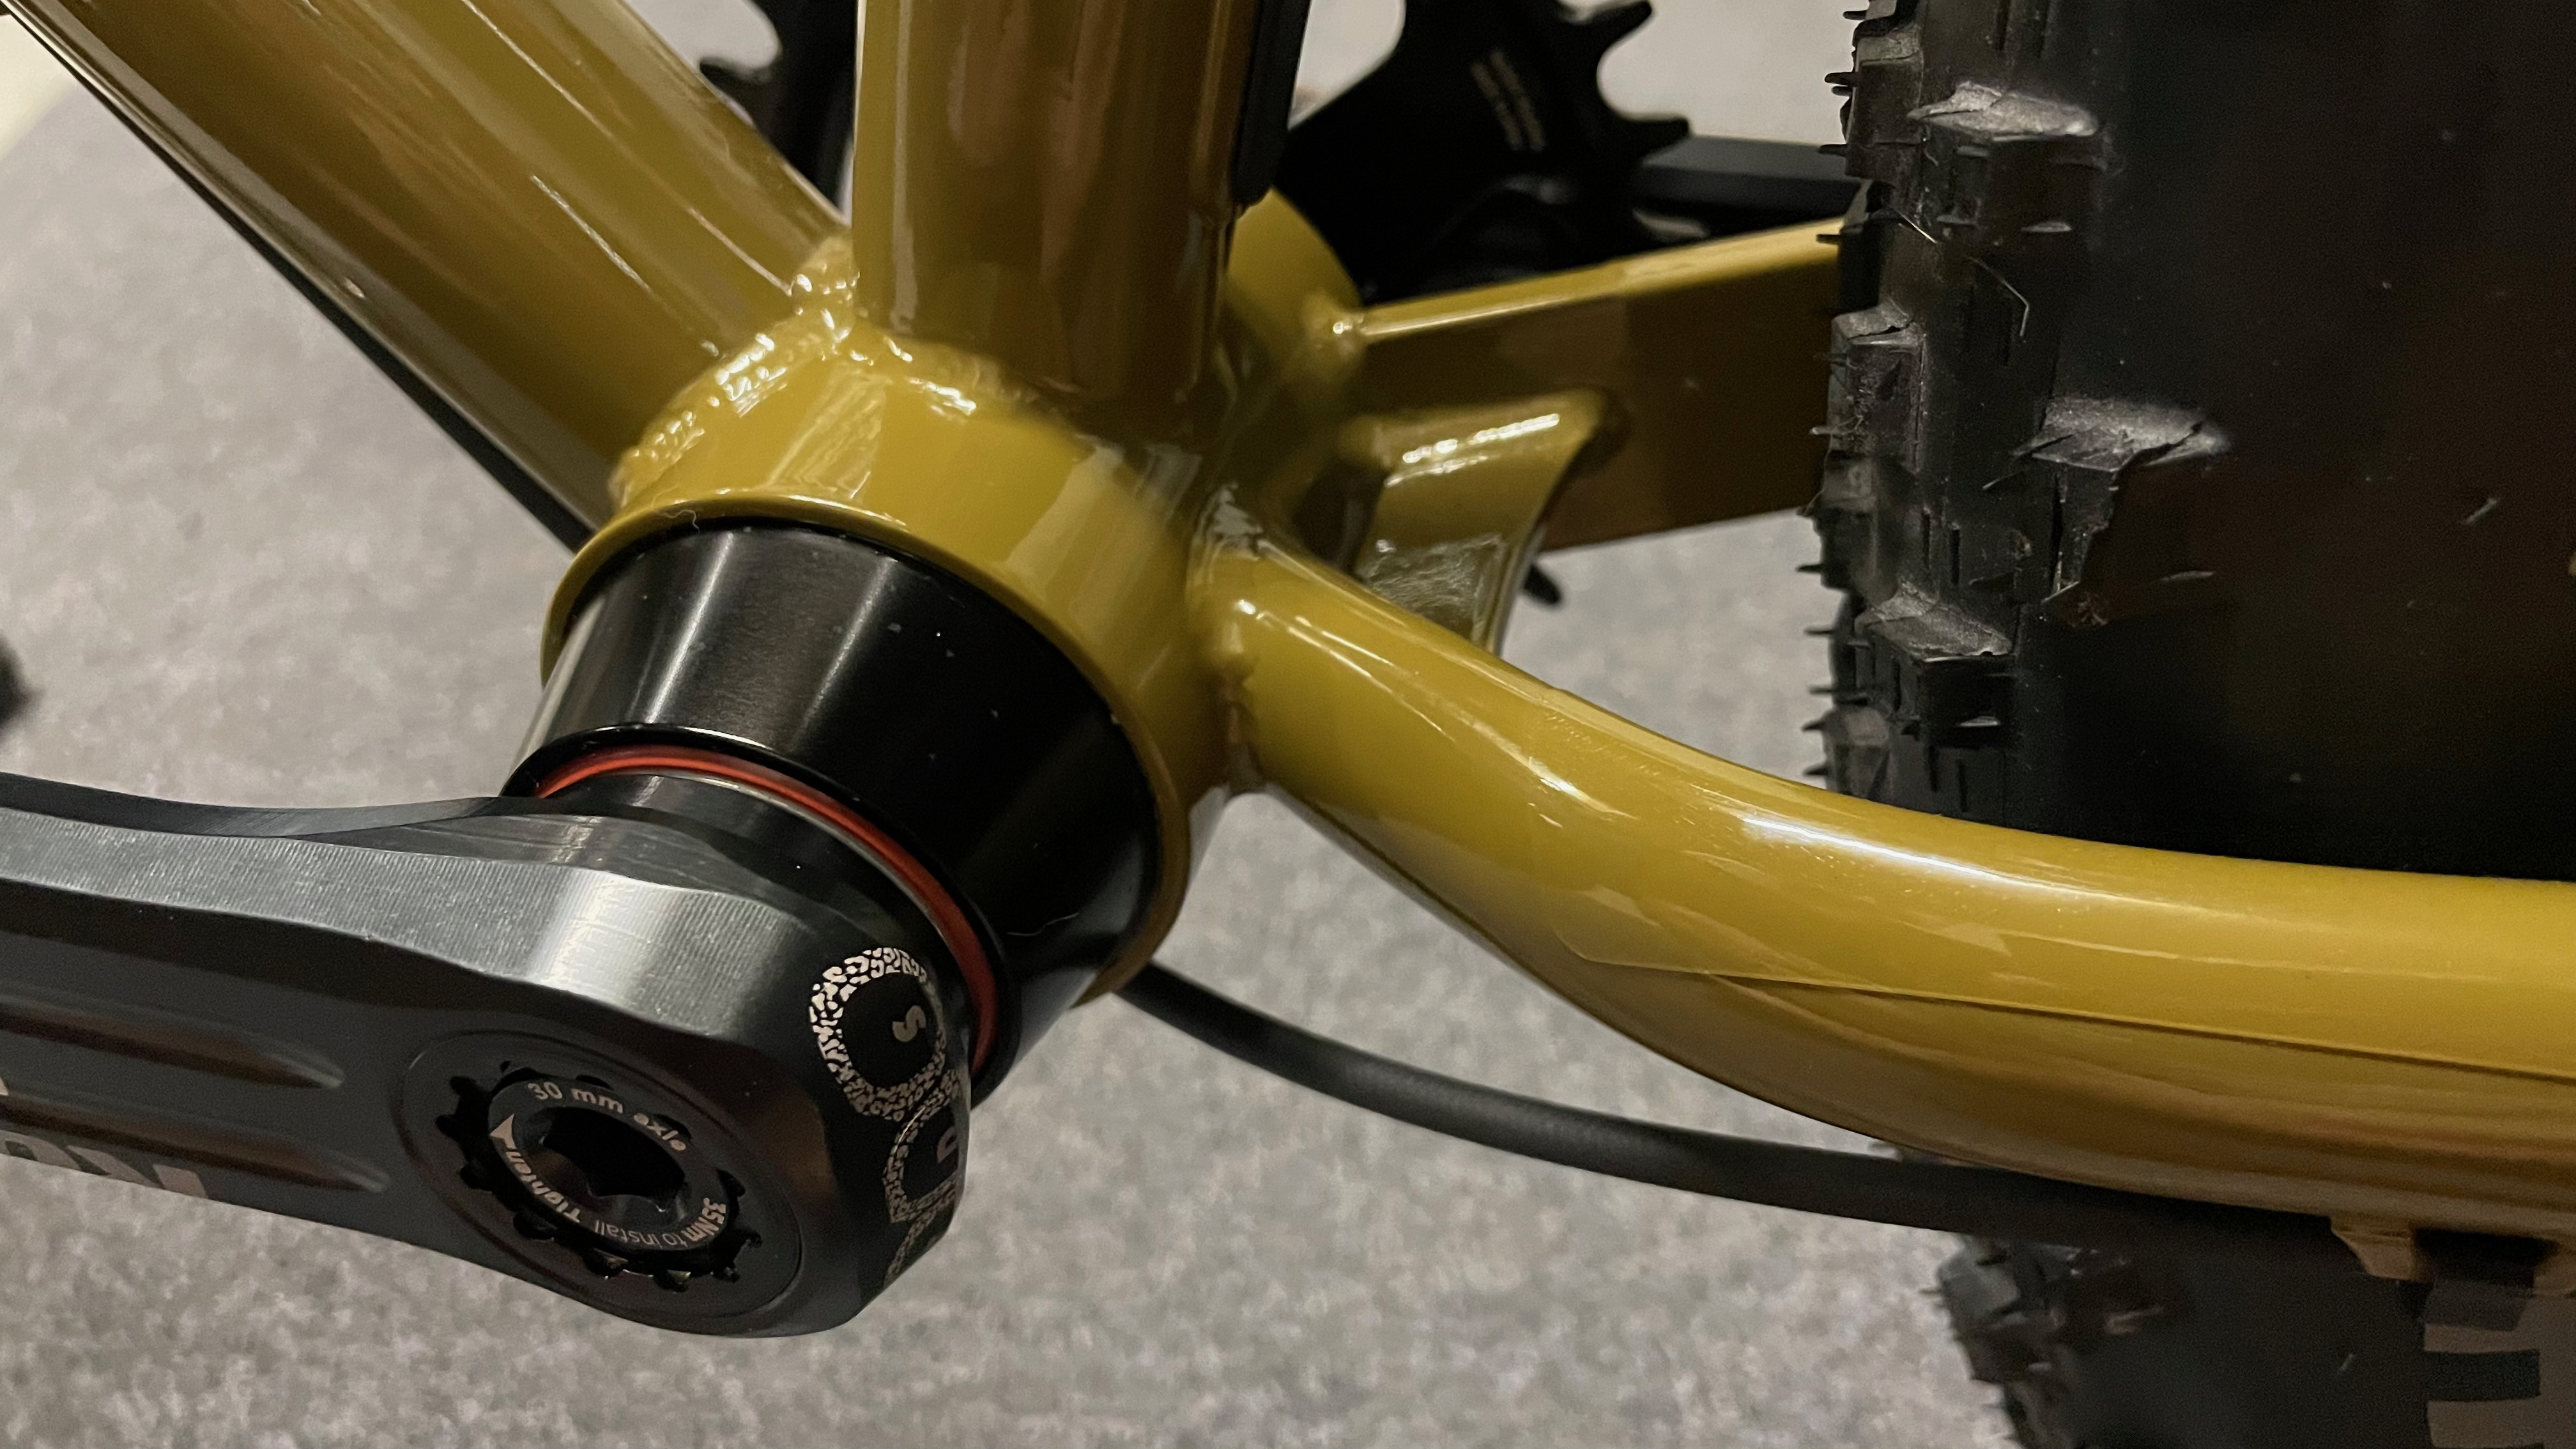
The function the item has to perform dictates the design. So do the elements that mate with the BB. The frame has a 54.7mm ID bottom bracket shell with a width of 73mm. The axle I'm using is a 30mm Rotor Boost axle. So, there's that. The rest is dictated by the bearings I'm using and by the chain line. - The Materials
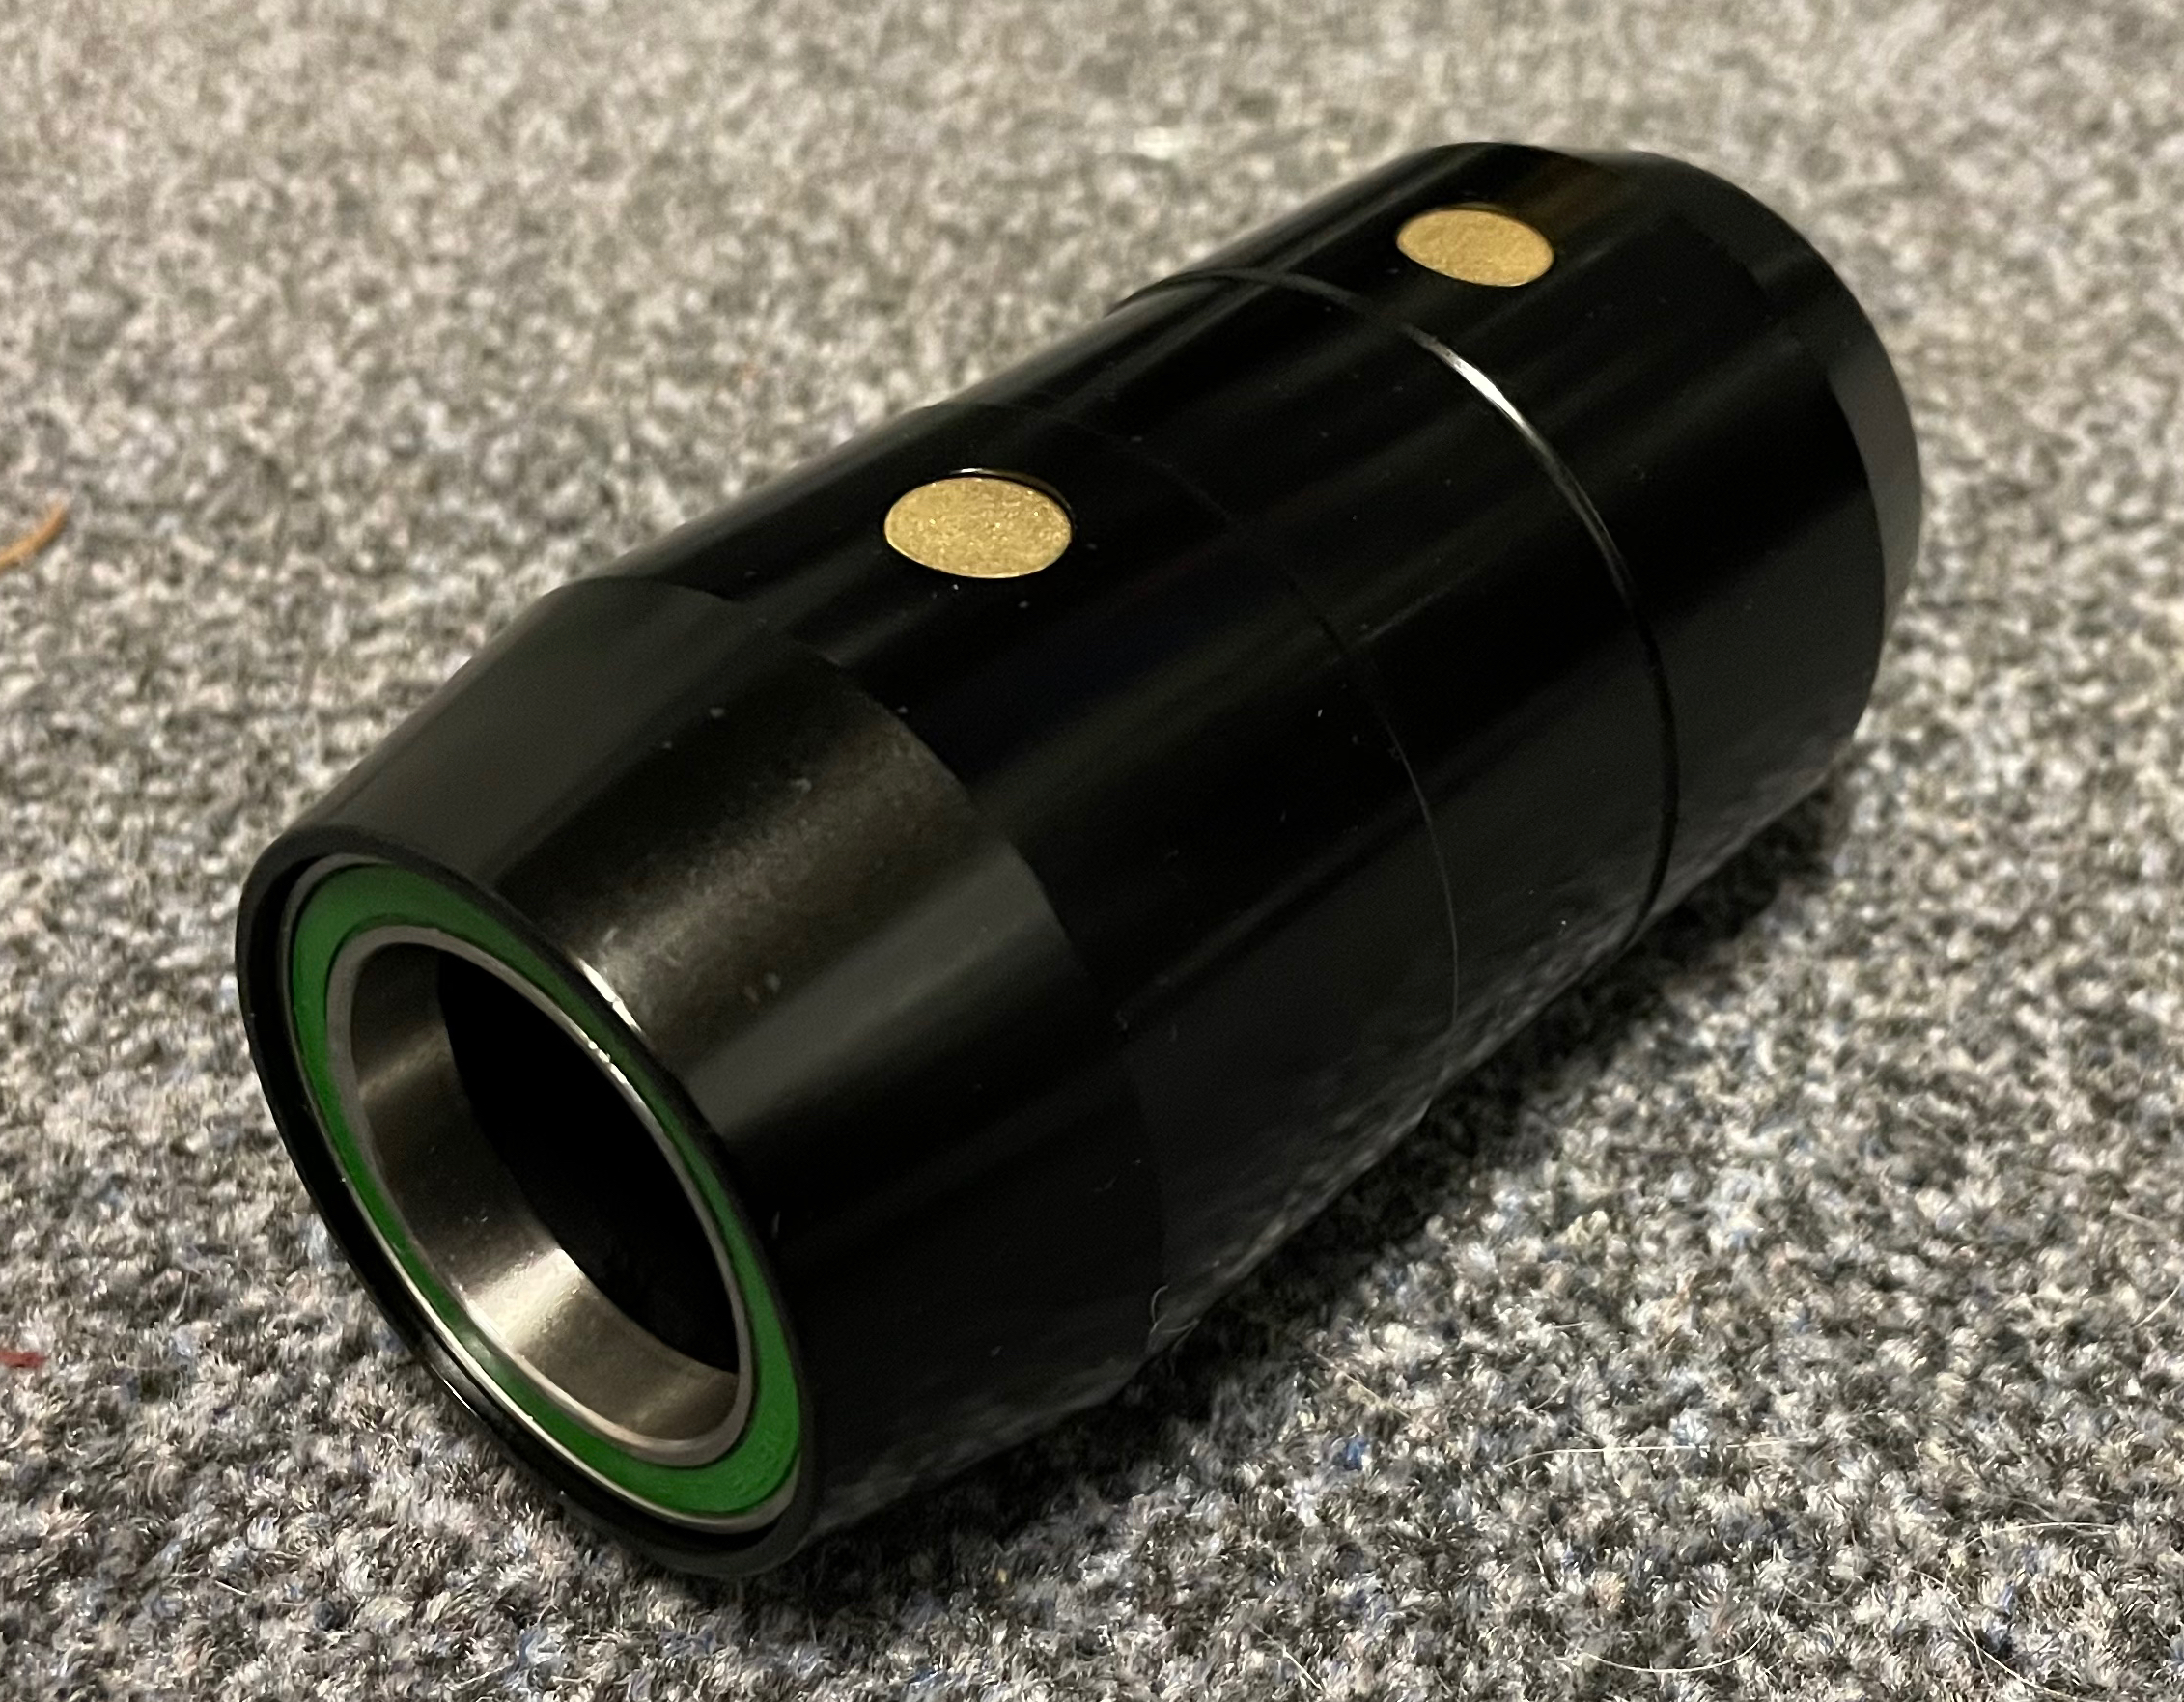
The BB3106 is machined out of EN AW-6026 aluminum, an alloy renowned for good machining characteristics and excellent anodizing response. I bought Enduro S71806 440C stainless angular contact bearings and two SKF 61806 2RS1 MTRX10 solid oil bearings. Two bearing seals provide extra protection. To clamp the BB, I use stainless flat-faced ball-ended setscrews and a pair of replaceable brass shims so that the setscrews can't gouge the BB3106. - The Machining
I work for a company that sells CNC machines. We always have a few in our demo room. While I used to use CNC machines during my apprenticeship more than 30 years ago, I haven't been trained to operate the modern machines we sell. It's just not part of my job. Our applications guys made the part for me on one of the CNC lathes in our exposition room. It was quite a challenge as our tooling selection is limited and we only have the standard factory-equipped chucks, but they got it done. - The Anodizing
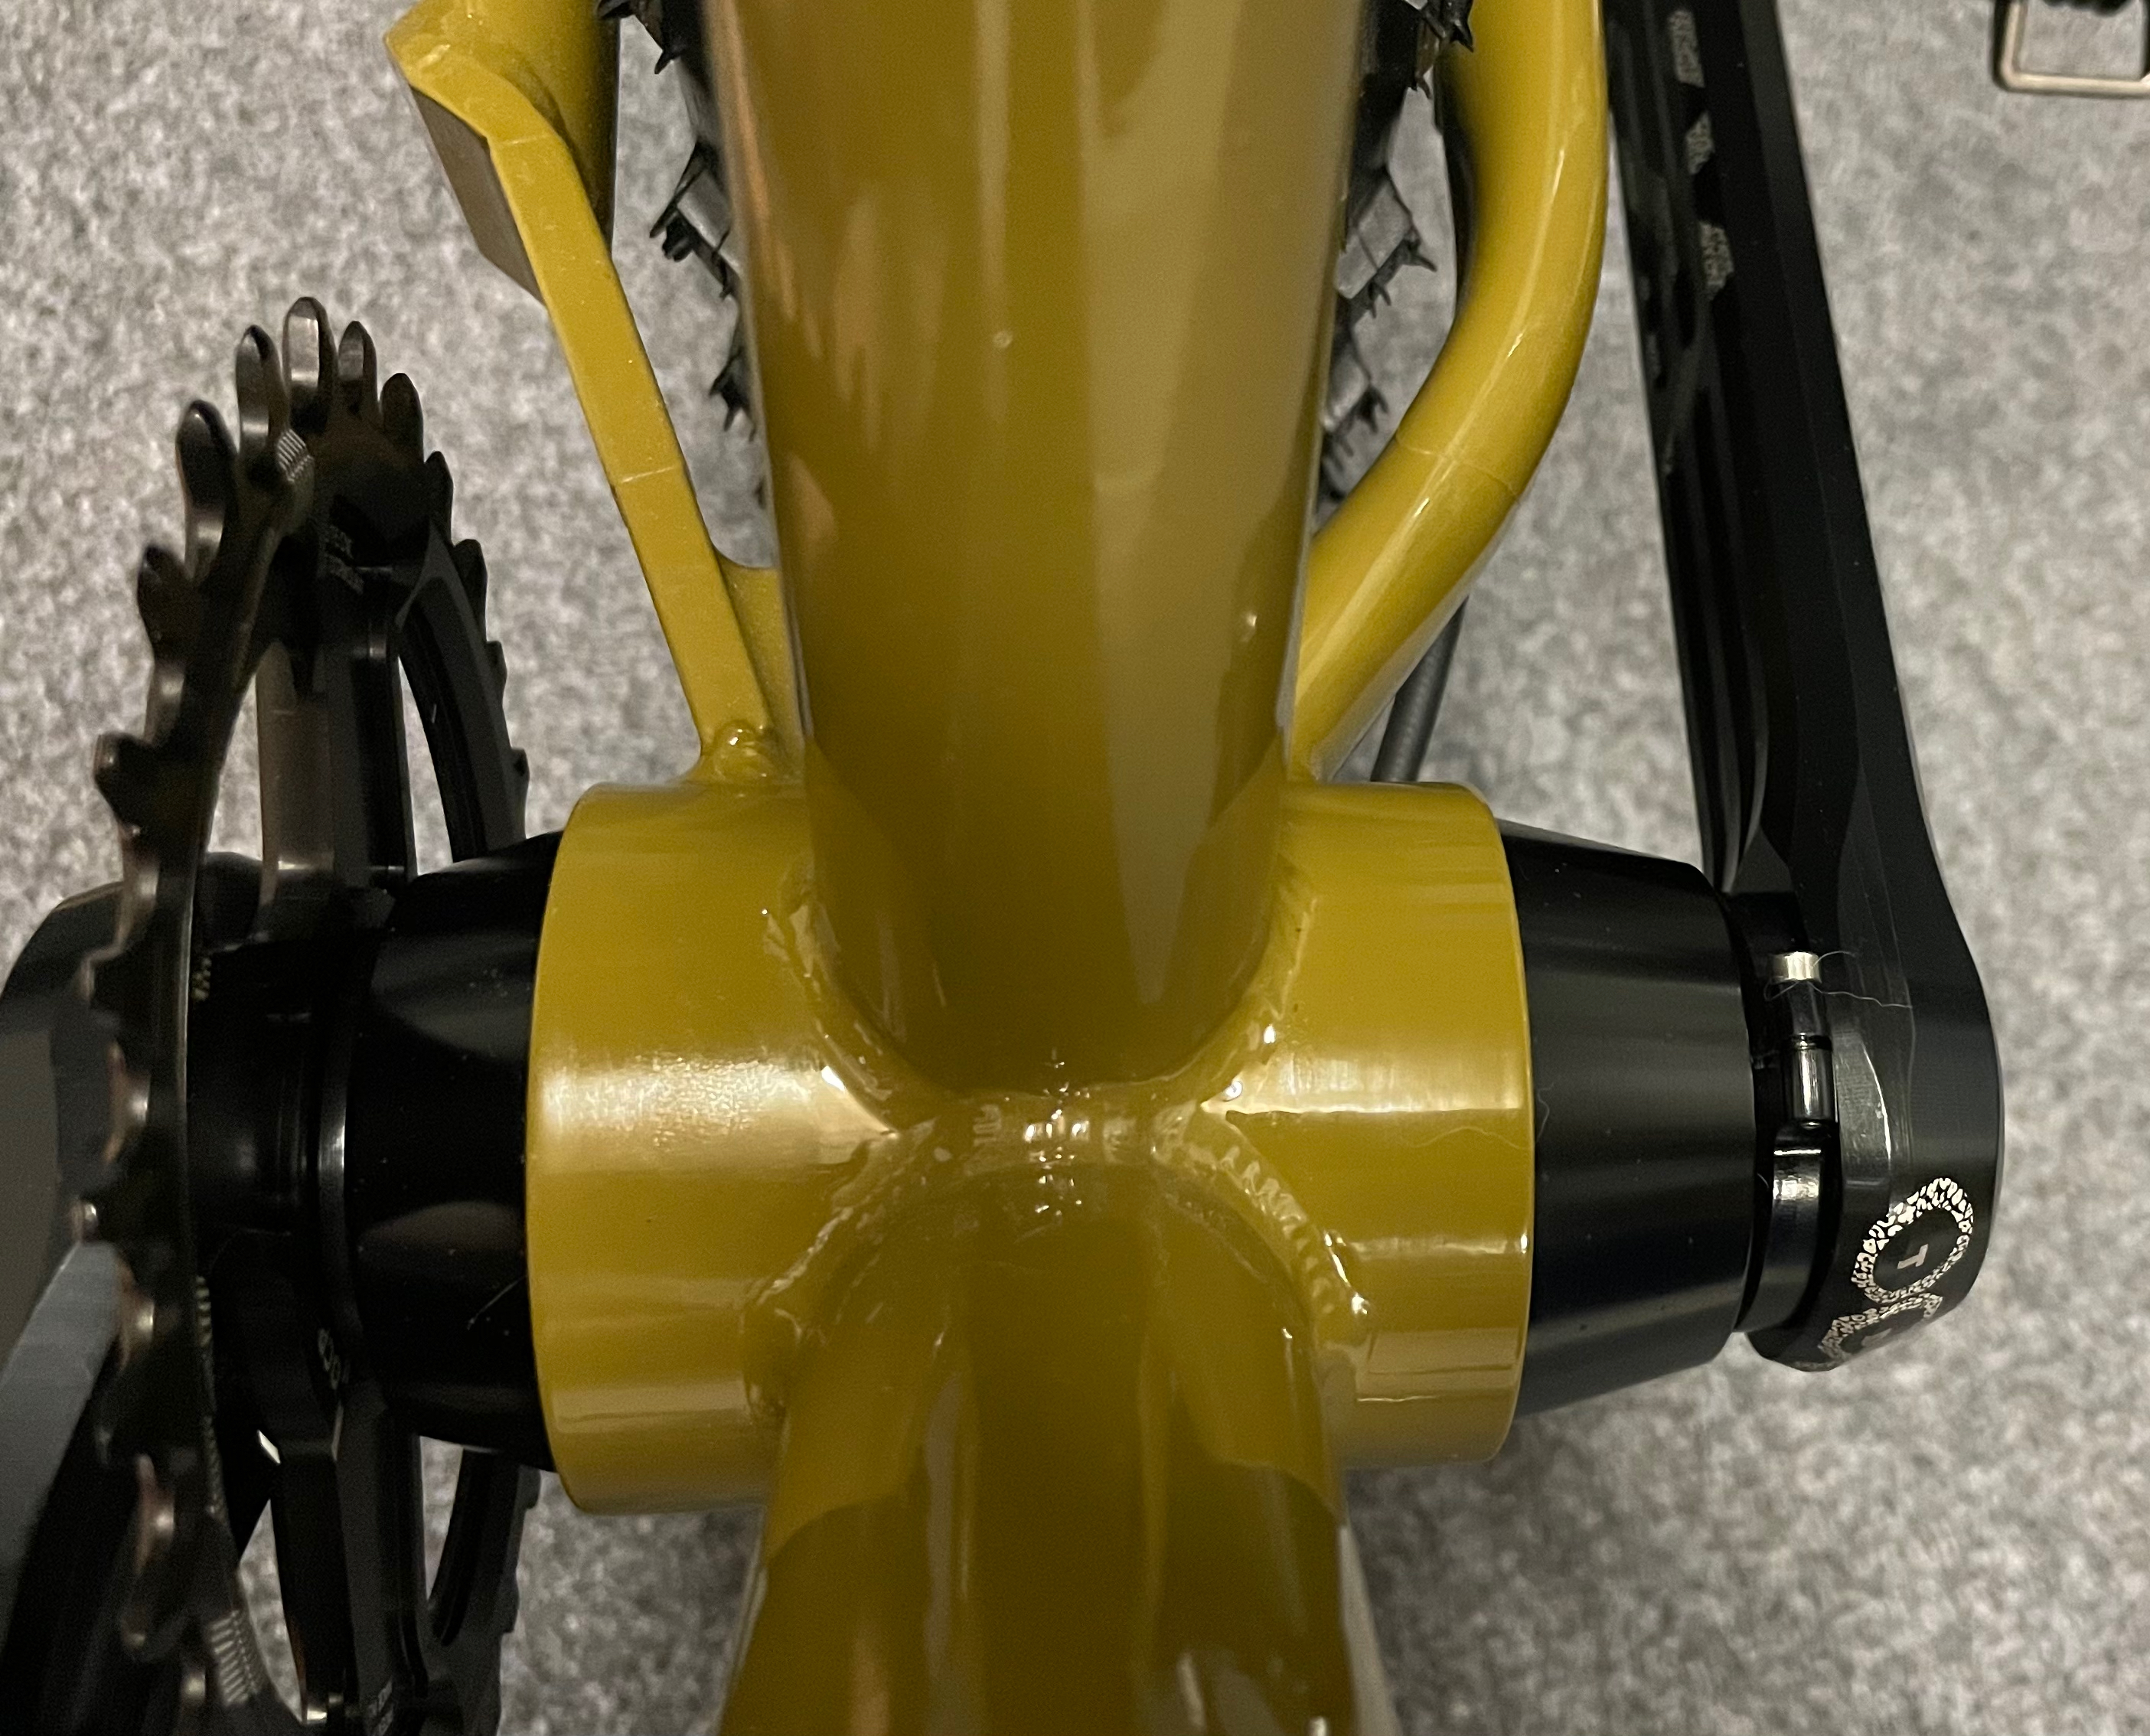
I'm lucky to live in a highly industrial area, where surface finishing companies are plentiful. I don't even have to leave town to have something titanium-nitride coated or to get something anodized. With small quantities, such as my bottom bracket or the head badge for my Snakedriver, you just have to be patient until the surface finisher has some larger job, where they can add your parts. - The Assembly
The assembly of the BB3106 is the last and easiest step; press one bearing in on one side, then do the same with the other. A bit of grease helps the process. Lightly grease the Boost axle and push it through the bearings, not forgetting the outer bearing seal. - The Cost
The parts and raw materials are easy to calculate. For machining, I paid nothing other than lunch for two applications technicians. If I put the CNC shop hour at CHF 200.00 for such prototype work and they need 6 hours, machining the BB3106 would cost CHF 1'200.00. That's likely not an exaggeration, quite possibly in fact, it's even at the low end of it here in Switzerland.Effective Shop Made Enduro stainless angular contact bearings CHF 60.00 CHF 60.00 60mm diameter aluminum bar stock CHF 86.00 CHF 86.00 Enduro Bearings bottom bracket seals CHF 9.00 CHF 9.00 Brass shims (pack of 50) CHF 8.00 CHF 8.00 Stainless flat-faced ball-ended setscrews CHF 12.00 CHF 12.00 Machining (pure estimate for shop-made) CHF 35.00 CHF 1200.00 Black anodizing CHF 97.00 CHF 97.00 Total CHF 307.00 CHF 1472.00
So, it's easy to see that custom parts, such as this bottom bracket, are out of reach for the casual component designer, who needs a CNC shop to have an idea realized. This BB3106 wouldn't exist if I had to put a 1500 franc hole into my wallet.
Comments